

Macrame art is something that many people enjoy, so why not combine it with your other passion, crystals! Macrame crystal holders, macrame wrapped crystals, and other crystal macrame diy projects are so much fun to make, and are a beautiful boho-inspired addition to your space!
Macrame crystal holders are an enjoyable craft that you can do any time of the day. They offer a wonderful opportunity to unleash your creativity and bring a touch of beauty into your surroundings. The process of creating these holders is both fun and relaxing, allowing you to express your artistic side while also engaging in a calming and therapeutic activity.
Whether you're a beginner or an experienced crafter, macrame crystal holders provide a delightful way to spend your time, bringing a sense of accomplishment and satisfaction as you see your finished pieces come to life. Each piece becomes a reflection of your personal style and craftsmanship, making it a meaningful gift or a beautiful addition to your own space. This project offers an accessible and enjoyable way to spend your time, either with friends, family, or yourself!
What You’ll Need
- Macramé cord or embroidery thread
- Scissors
- Assorted crystals
- Wooden dowel or branch
- Tape measure or ruler

Step 1 - Pick your Stone!
Have you ever found yourself admiring your collection of crystals? Do you have a personal favourite, one you have a special connection to, or maybe simply one that just stands out as the perfect stone for a craft? Well, you can use those crystals in a DIY decoration!
Using your crystal as a measuring guide can help you make each knot the right distance apart, creating a visually pleasing pattern. As you work on your macrame project, try to hold your chosen crystal against the cords and use it as a reference point to determine the spacing between each knot. This technique allows you to maintain consistency throughout your design, resulting in a balanced finished product.
Not only does this method help you maintain an accurate pattern, it also adds a personal touch to your macrame crystal holder. By incorporating your crystal into the process, you infuse a bit of its energy and intention into the final creation. It becomes a collaboration between your artistic expression and the inherent beauty of the crystal itself.
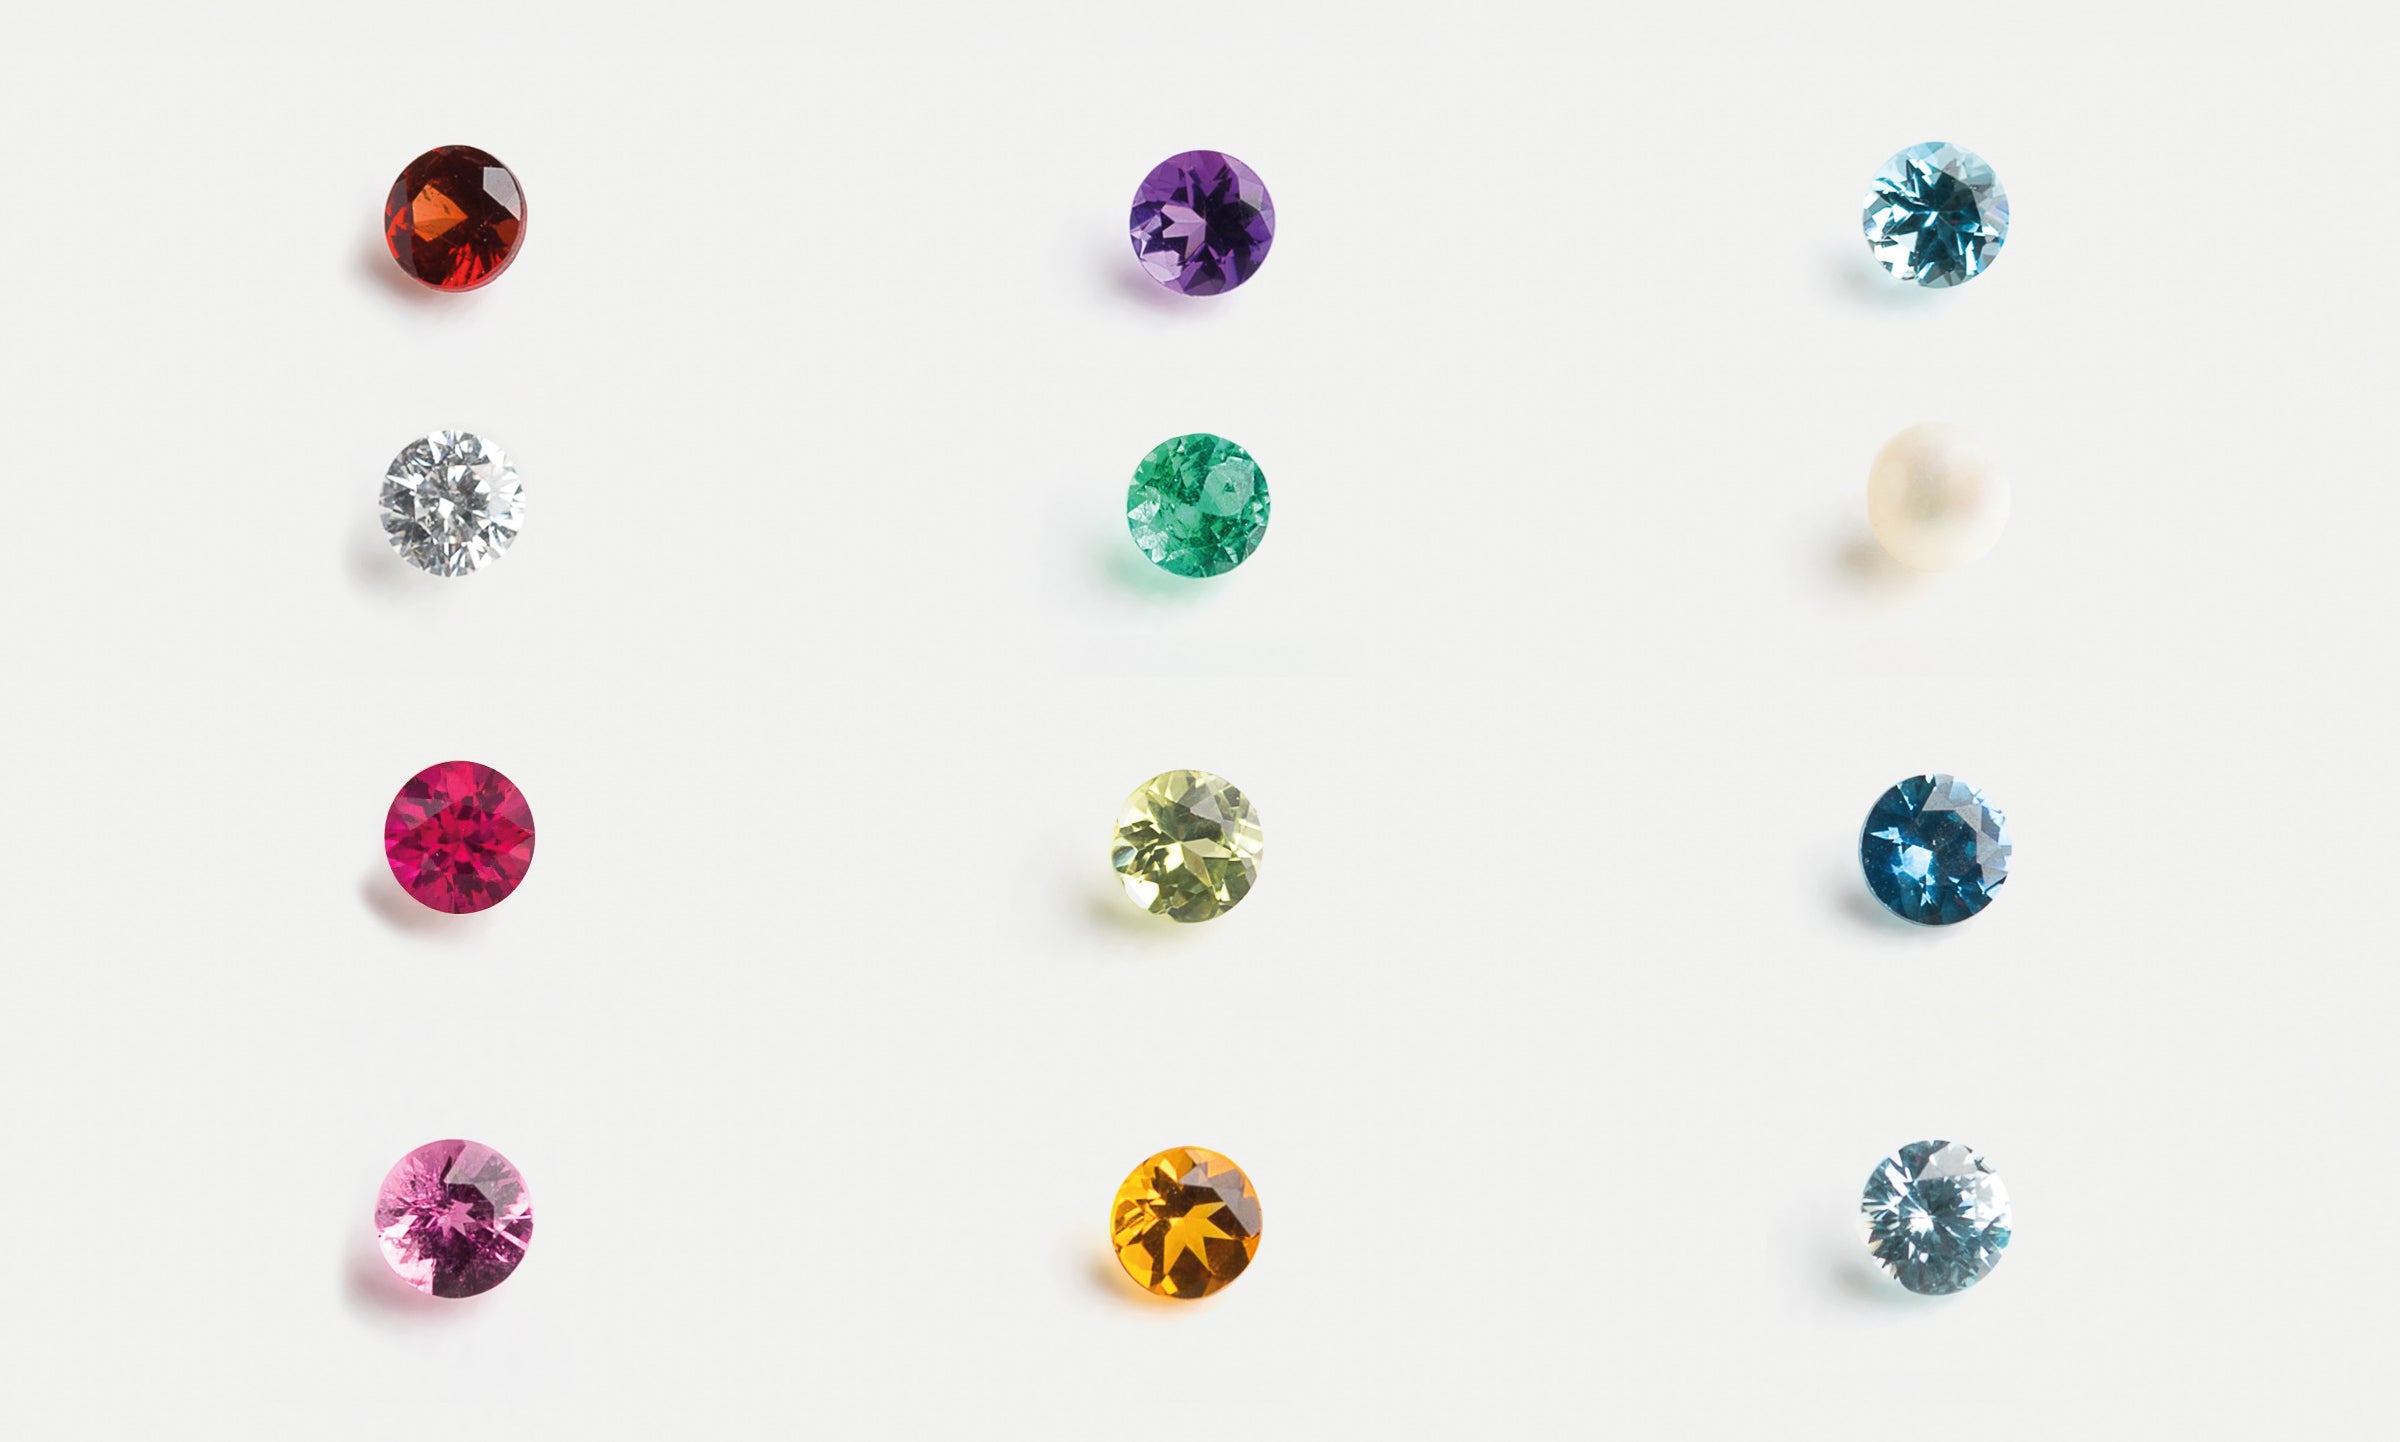
Need help picking out a stone? Here’s a few options that would be fantastic for any space!
- Clear Quartz: this stone goes well with any colour scheme, and adds an amplifying energy for the other stones nearby.
- Rose Quartz: for a soft and romantic touch. This stone pairs beautifully with pastel-coloured holders or neutrals, creating a gentle and soothing vibe.
- Amethyst: with its stunning purple hue, brings a sense of calm and spirituality. It works well with holders in shades of lavender, lilac, or other cool-toned colours, creating a serene and meditative atmosphere.
- Citrine: for warmth and positive vibes, this stone is an excellent choice. Pair it with holders in earthy tones, such as beige or brown, for a cozy and uplifting ambiance.
- Amazonite: for a touch of tranquillity, this stone is a great choice. It compliments holders in shades of blue, teal, or seafoam, giving a sense of calmness and balance.
- Jasper: this stone comes in a variety of earthy tones, such as red, brown, and green. It can add a natural and rustic element to your space. Choose a stone that matches or contrasts with the holder's colour to create a visually appealing and earthy look.
- Sodalite: this stone emits a sense of wisdom and clarity. Pair it with holders in shades of navy or indigo to create a sophisticated and introspective feel.

Step 2 - Measure and Cut your Cord
When it comes to measuring your cord, you can measure it one of two ways; you can choose to measure your cord precisely with a ruler or tape measure if that works best for you, or you can measure with your heart and hope you end up with a piece long enough to do what you need to (my personal measurement option of choice).
The best way to measure your cord if you have a specific crystal in mind is to have the crystal nearby and use it as a visual guide, think about how big the stone is, if you would need more cords to support the weight and hold it in place. I found 6 was a good sweet spot for how many cords it would take to make the stone secure, while not completely covering the stone in cord.
When cutting your cord, you should also be thinking about how long or short you want your crystal holder to hang. If you want your hanger to be quite long, you’re going to want to cut your cord very long to accommodate the length and the crystal. A good tip I always use is to cut your cord a bit longer than you think you’ll need. You can always cut your cord down to size after tying the final knots, but it’s very hard to add length once you’re out of it.

Step 3 - Let’s get Knotty
Okay, time to start making knots! It's really important to remember to be patient and not rush when you're tying the knots. I know it can be tempting to speed through the process so you can see your beautiful new decor piece hanging up, but trust me, it's worth taking your time. By being patient and making the knots properly, you'll create a truly stunning macrame DIY project that you can be proud of.
When tying your bottom knot, you’ll be able to judge how long your tail will be. If you want to, you can also cut it after tying if you decide later that you want it shorter. Another fun thing you can do with the tail is add some beads to it! You can add colourful beads, wooden beads, beads with letters or numbers, or even crystal beads!

After you tie your bottom knot, lay it flat with the strings all out to the sides, making them about equal distance apart. This will help you measure your knot spacing a little better! When everything is nice, flat, and even, place your crystal on top of the knot. You’ll want your first set of knots to come up a little ways on the crystal you’re using, to help better secure the bottom.

For your second set of knots, you can keep the crystal there or you can move your crystal. You’re going to want your second set of knots to come up on the crystal about half or two-thirds of the way up the sides of the crystal. This will help it be more secure, and prevent it falling out on any of the sides. If you want to make this a more permanent home for your crystal, rather than being able to exchange which crystals are in the crystal holder, you will have to keep your crystal inside as you make your knots, and make your knots fairly tight against the crystal.

To end the part where your crystal will be hanging, you can finish off your pouch with a braid, knot, or another technique of your choice! This is also where we see how long or short the hanging will be. If you don’t have a lot of string left, but still want a long hanging, opt for a braid or a simple knot at the top of the string. If you have lots of string, you can go for a more intricate knotted design!

Step 4 - Find a Home for your Craft
Do you already know where you’re going to hang your craft? Or maybe you’re like me and make your crafts first and worry about where you’re going to put them after. Well, I have a few ideas for where you can put your next project with anecdotes from my own trial and error!
- Your Window - this is particularly pretty if you have a transparent or translucent crystal! If there’s any inclusions or cracks in the stone, it could cast some rainbows through the room it’s hanging up in.
- Your Wall - using command strips for a non-permanent approach, hanging your creations on your wall would help take up any blank space on your wall, and add your own personal touch to your space.
- Your Shelf - Maybe you don’t have enough space ON your shelf because of your ever growing collection of crystals, however there’s a lot of free real estate UNDER your shelf for hooks to hang your macrame crystal holders!
- Your Car - If you use a smaller stone, you could tie it up behind your review mirror, ceiling handles, or maybe on the back of your headrests. A cute and simple way to add a little personality to your car!
- Your Office - Maybe you used a stone that helps you feel more focused and productive, put it up in your office to help you better work through your days, keeping production high and daydreaming low!

Step 5 - Sit Back and Admire your Work
Congratulations on your new home decor DIY project! I’m sure it looks beautiful in your home, and is already giving the space a brighter and more positive atmosphere.
If you follow this craft, post it on Instagram, Facebook, or TikTok and tag us @stonebridgeimports or @kw.rockspace so we can see your beautiful macrame crystal holders!
Sources:
DIY Plant Hanger - natural and simple, Fairyland Cottage (April 28 2019) YouTube. Accessed at https://www.youtube.com/watch?v=5ovZ5mx8woA